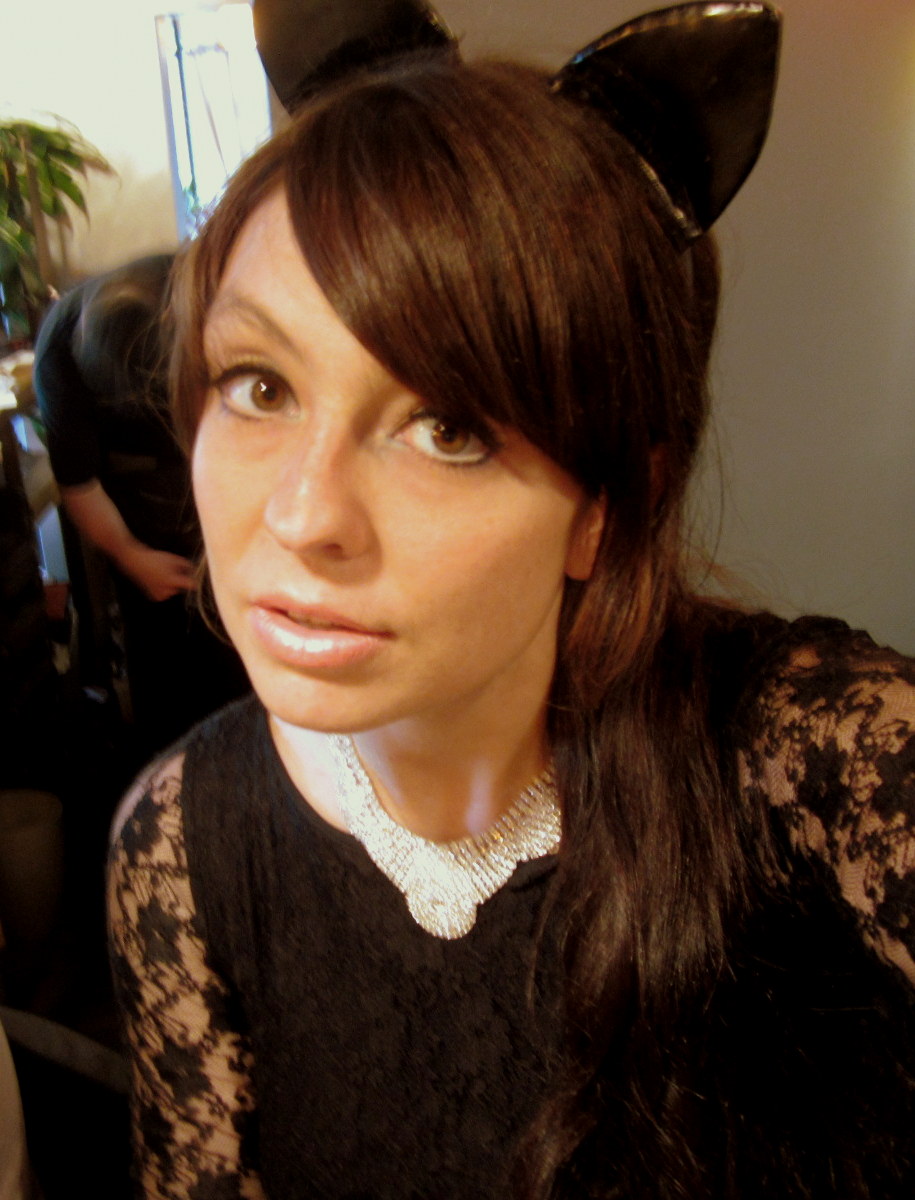
Separated myself from the background using the little lasso. Opened them both as new layers on a new project.

The section with just me still somehow attached itself to a white background. Managed to keep the hole open on the background I cut out. I put my cutout layer behind the background and played around until it was in place the best I could. Used the smudge tool to blend edges clean. Much improved. Kept layers separate so I could edit the color on them separately. Here I changed the color of the sheet and tried to get myself and my shirt back to as normal a color as possible. This is about my real skin tone and the shirt is spot on. Sheet looks like it was always blue/green. Experiment successful. Go Gimp! =)
If you are wondering about my hair, I just cut right through the stray hairs and left them to be edited with the background. Because they were almost black anyway, they melded back with the cutout fairly effortlessly. The stray hairs seemed to help meld the two parts back together again.
In The two above I played with different lighting, coloring and filter tools. I think the red is my favorite. Very much like a graphic novel. In the blue/green with black and white me, I changed the sheet to look like canvas. Kind of a cool effect I think.
On The two above, I somehow lost my ability to edit the layers separately. I think I saved instead of save as or something else. Not sure. I just played with filters and lighting on these ones. The different tools I used really took away any seams I had left and they seem to have completely melded these two cut outs together.
Second picture to come.
 |
| Original. Was covered in water spots from dirty lens. Removed them with the Picasa retouch tool. Easy and handy. Easier than I thought. |
 |
| Desaturate and Brightness/Contrast. I was trying to create an amateur photo from the 50's. Other than the car being the wrong model, I think successful. Reminds me of my grandmas old overly lit photos. |
|
|
|
|
 |
| Curves, brightness, and contrast. It's a bit instagram, but I sill like it for the way the clouds turned out. |
 |
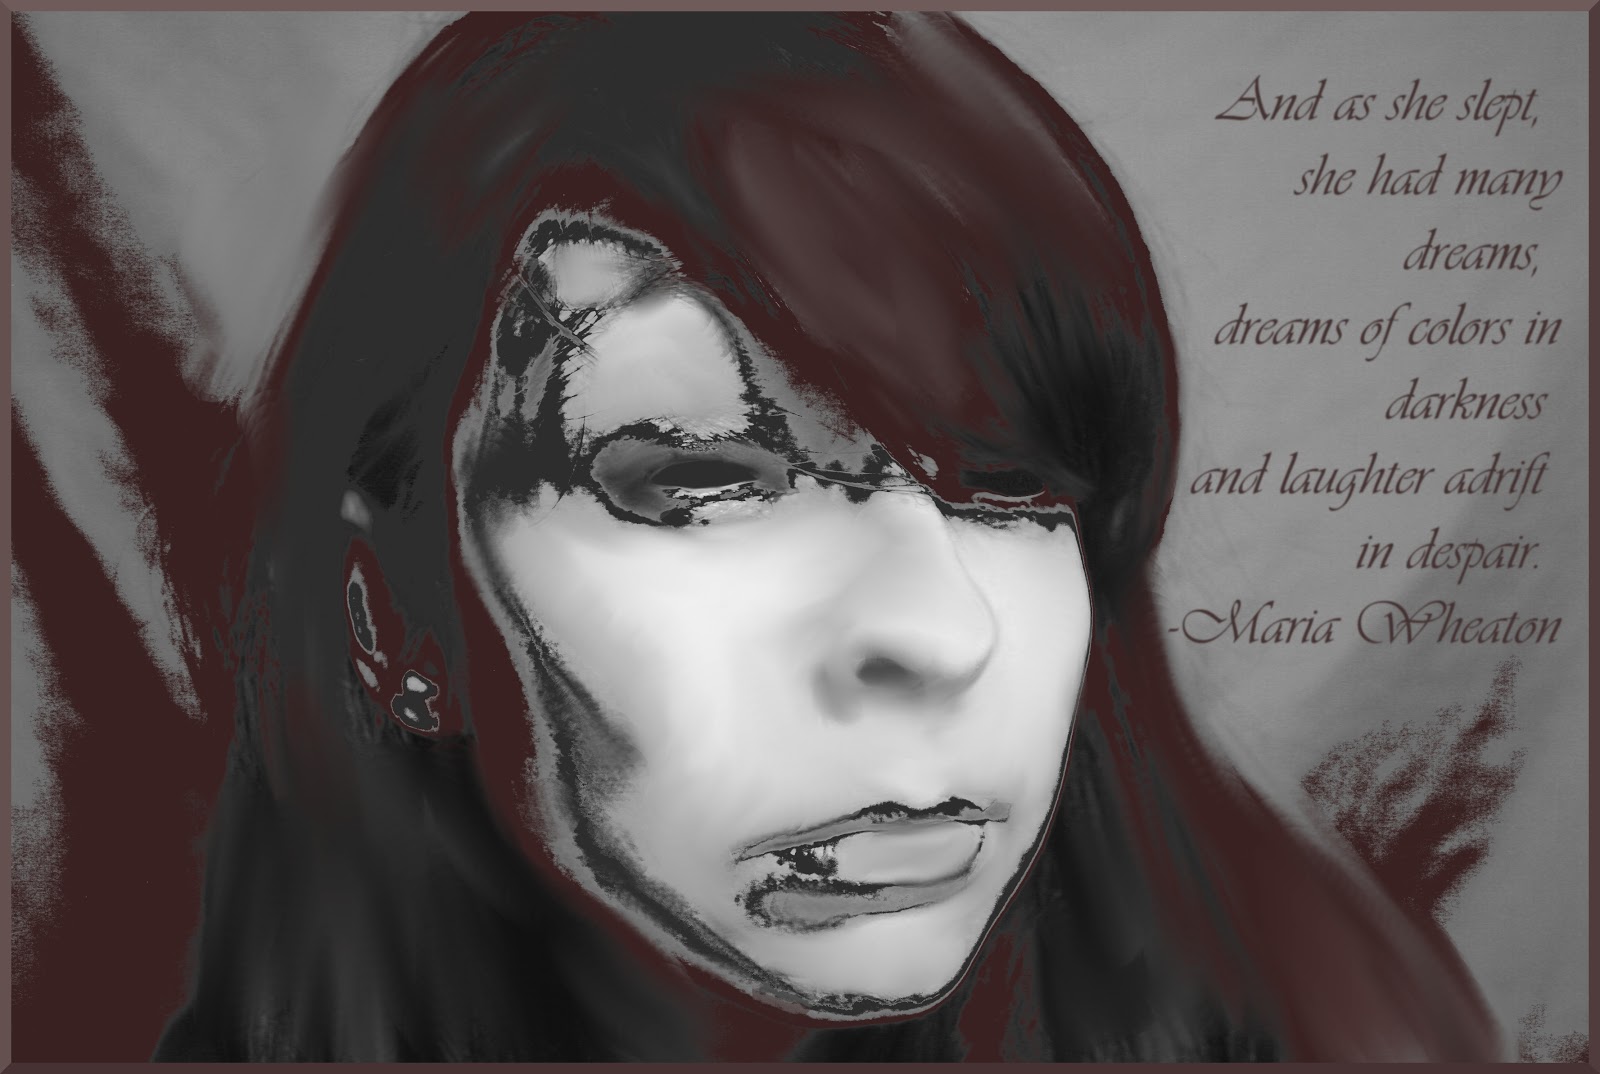
| Threshold 216/255. Face cut out of another picture, made into layer, resized, adjusted threshold, placed, and flattened image. |
 |
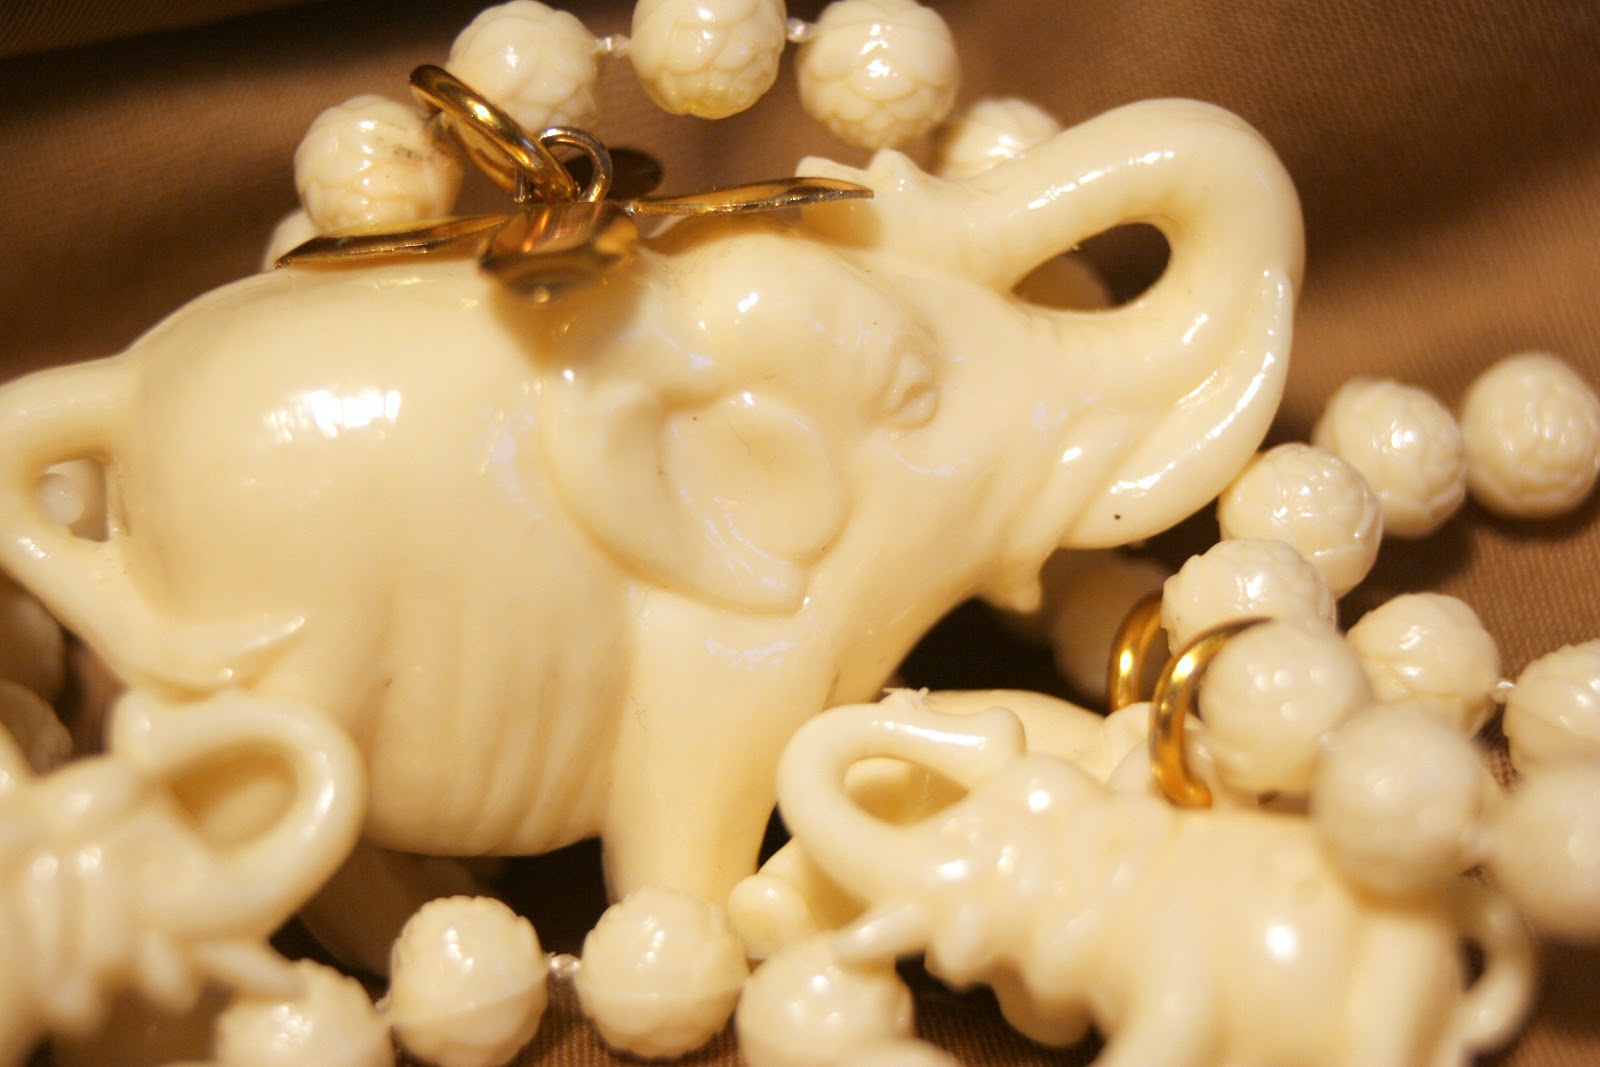
| Flipped, cropped, and used Posterize Level 2, nothing more, nothing less... I might be getting tired... |