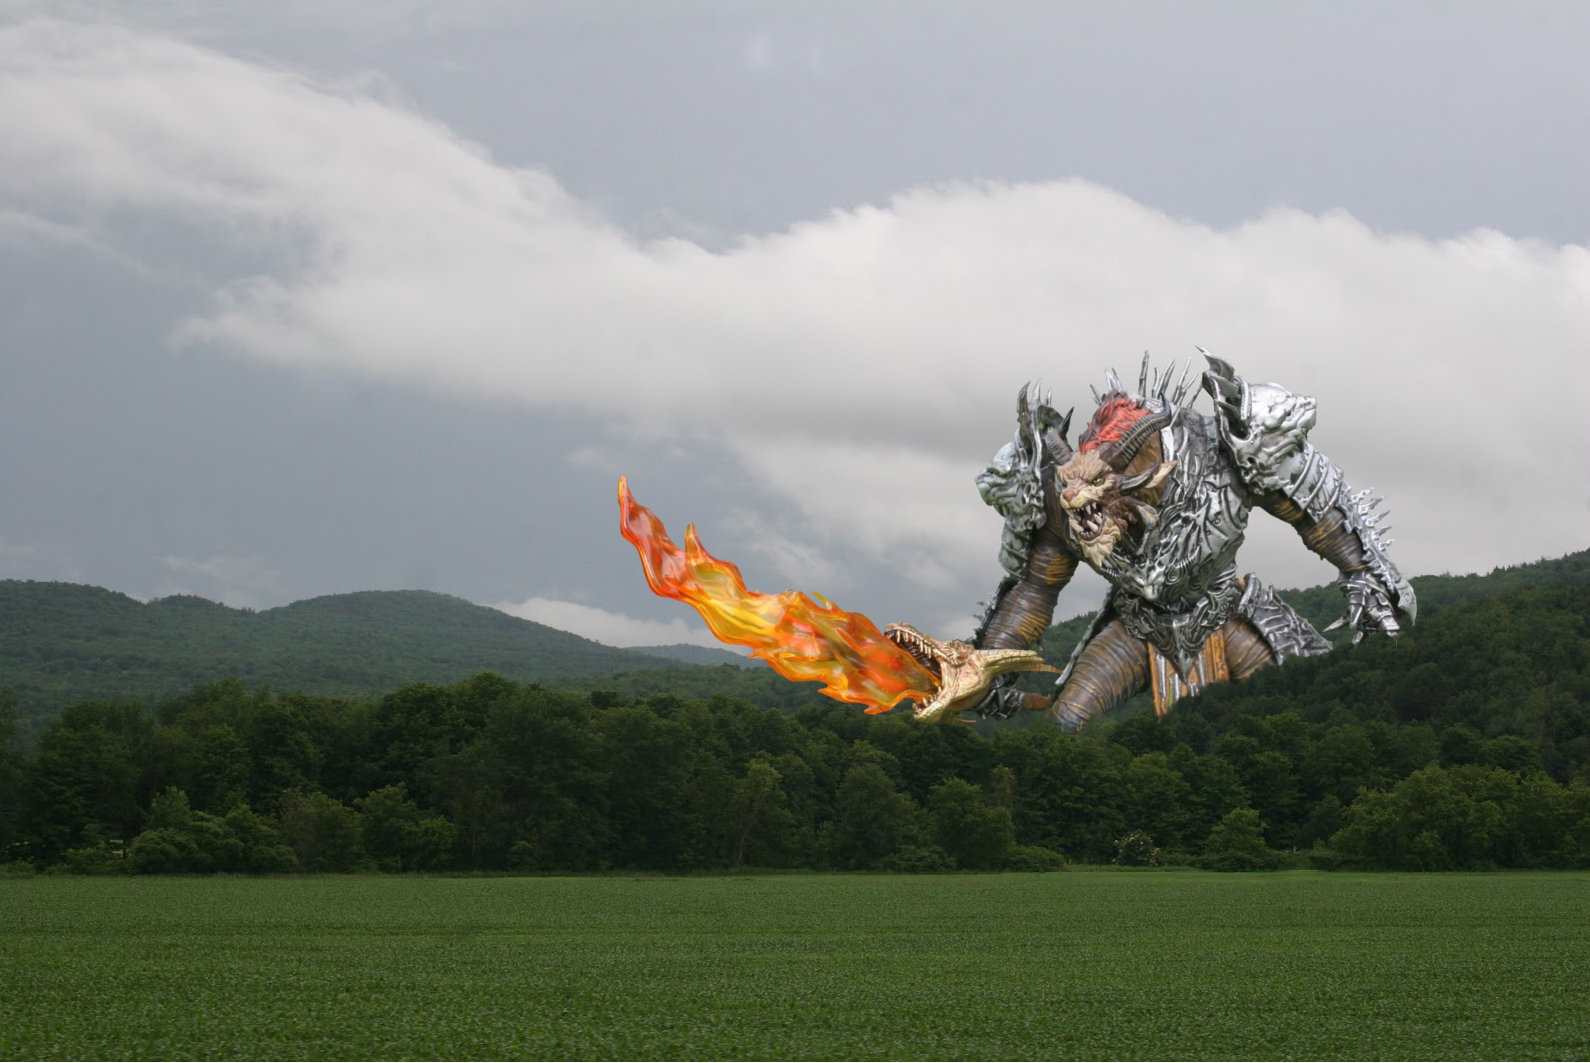
This was a lot of work. I used the scale tool, the free select tool, the fuzzy select tool, copy, paste, and new layer. In order to get him to look like a giant in the trees, I had to remove a section of trees, paste it back, turn it into a layer, and puzzle piece it back in. I also painted the background dark green in order to make the use of smudge more productive. The white seems were too much to try and smudge away. I smudged the seems away before locking my layers down together. My favorite part is how the sword turned out. I tried to adjust lighting to make him look as dim as the surroundings, but I could quite get it. I will tinker with it later.
Also, without zooming in until I could see each little pixel, I could not have gotten such a perfect edge on this image. If you zoom into the photo, the sword and its pixels are perfectly integrated into the scene. I'm pretty proud of this. It took some serious patience and three or four tries.

Same tools as the first picture, far, far less work.

Nature versus Luxury -
All the same tools except I used the scissor select tool effectively for the first time. For some reason, if you fuzzy select a piece away you can use it, but you cannot use the empty space you create effectively. I just moved the tree picture around until the blinking cut out pattern was filled in by what I wanted, then cut the second layer, or tree picture the same way. I then deleted the leftovers and I didn't not have to make the piece fit. the scissor select tool did it for me. I am really happy I was able to finally figure this tool out. It saves a lot of time. I still have much to master on the smudge tool.
Originals -


maria,
ReplyDeletethis was a wonderful picture ~ the creature looks as though it is about to jump right out at you, I know I wouldn't have thought of this, I had a hard time grasping this assignment and watched the video many times on how to just layer a simple object from a photo.
these photos say many things, good adjustments.
Thank you. It was really about patience more than anything. I worked on it over a whole day, stopping to rest my eyes. I zoomed in until the pixels were huge and used the select tools that way. It allowed me to single out just the color pixels I wanted and leave the others behind.
DeleteAlso, I am familiar with the basics of Gimp so I had a hand up on this assignment where others have been much harder for me. This assignment did make me wish I had more variety in my class photos so I had more options to choose from.
These picture are wonderful.the tooling is very sharp and clean. I have to try Gimp,i have photoshop.
ReplyDeleteGimp is nice. I stick with it because I have used it for so long. I have Adobe photoshop and some really fancy tools, but I guess I am just a creature of habit. The top photo is the first time I have really put some hard effort into a photo manipulation. I have always just utilized the filters and layering. I am glad this class has gotten me energized about the select tools.
DeleteYou did this using Gimp? I applaud you - I struggled with gimp. I think you did a great job with these. The creature is actually very natural looking coming through teh mountains and the "missing face" is haunting.
ReplyDeleteThank you Karen. =) I was trying to make it look like the clouds were spilling out a bit. I haven't mastered smudge techniques yet.
DeleteAbsolutely awesome! I can tell that you have had some experience with this as well. That you have used gimp and stuck with it, is commendable. It is a very competent program, it is just a bit clunky. You have done a wonderful job with these. I especially like how you have replaced the face with the forest and clouds. Very surreal, very cool.
ReplyDeleteI love the 'Giant Rytlock'. This is a very well done piece and I can actually wrap my head around it being real, and would feel pretty terrified if approached by this guy. I like that you used the GIMP to accomplish this. I was once a staunch advocate of free(GNU) software, and still use it when needed. This just goes to prove that you don't need to spend a lot of money to get good results
ReplyDeleteI really like the first one with the action figure with the fire. Great layering, cropping, and deleting the backgrounds to the other photos in your layers. I also found the one with I think it's you with the cloud face, kind of creepy but unique as well. Great job this week your first one made me laugh for sure!
ReplyDeleteThea